|
For Flagg Fluorspar, I'd identified a need for some noise on the railway. I've already got a welder, but the trains themselves need to be able to make a noise when they were operating, so I decided to build a pair of Budup Wagons with sound units in them, so the trains will make a noise as they trundle round. There will be two: a Passenger Budup built into an EeZee Passenger Brake van, and a Goods Budup fitted into an EeZee Tool Wagon. 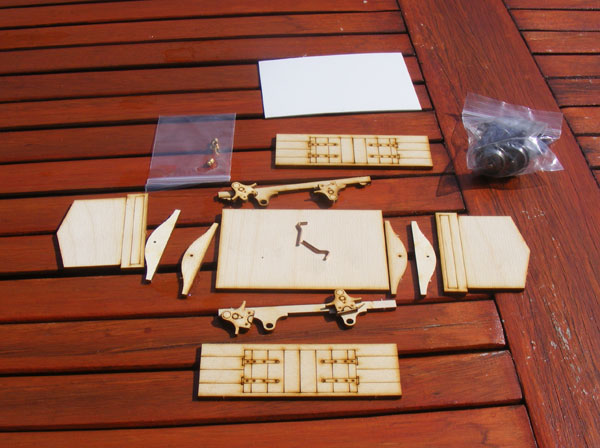
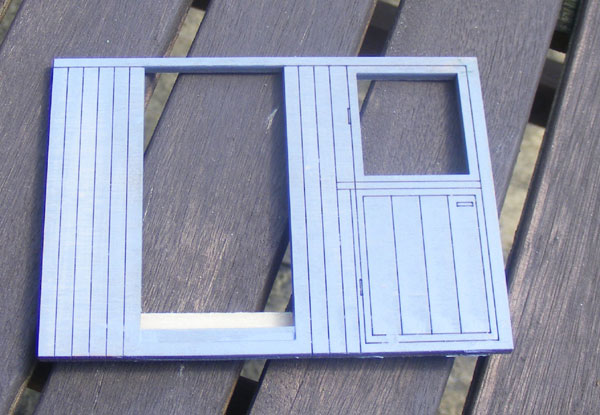
This is the wagon kit ........................ 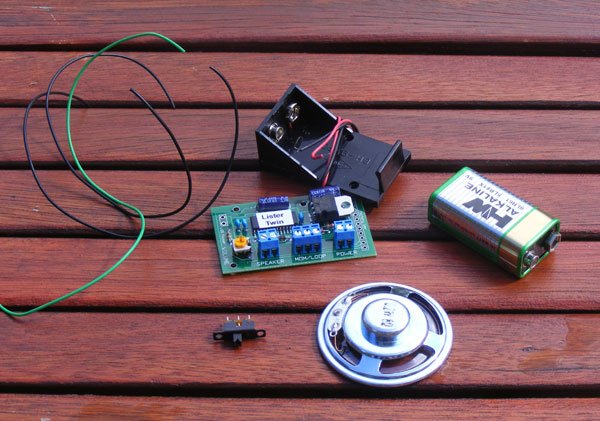
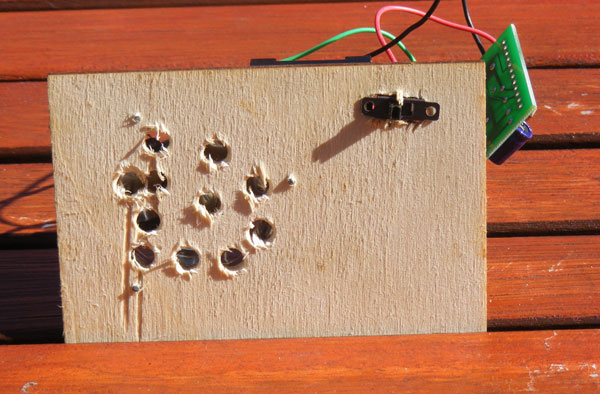
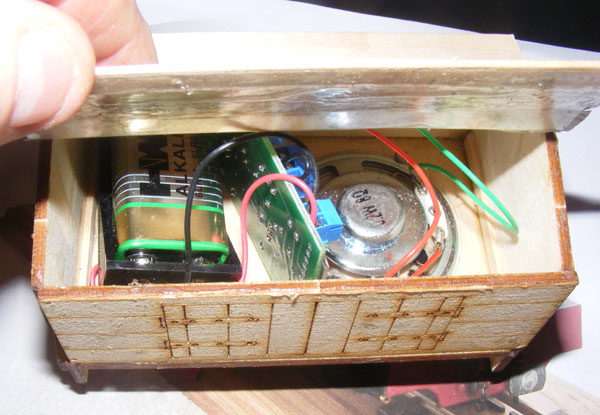
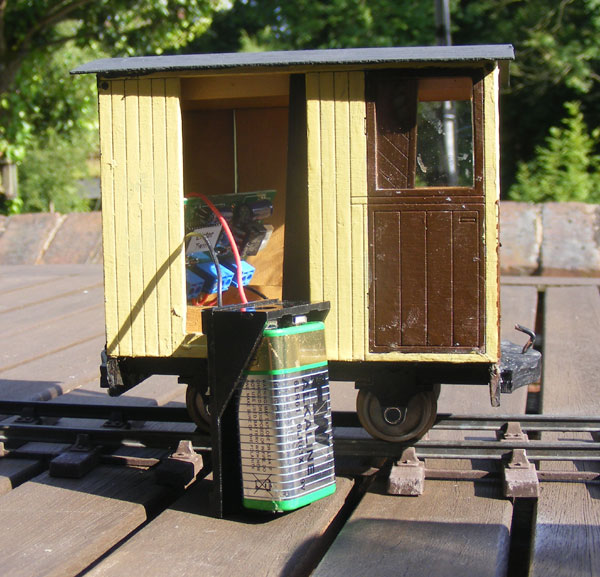
......... and this is what comes in the jiffy bag from the dark side of the moon (otherwise Blackburn) - sound unit, speaker, wire, switch and battery box (oh, and some instructions). 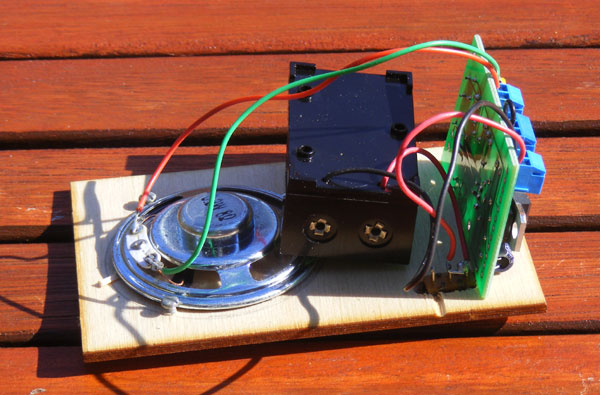 This is how it all sits on the wagon floor = the speaker is held in place with 3 self-tapping screws holding the edge down
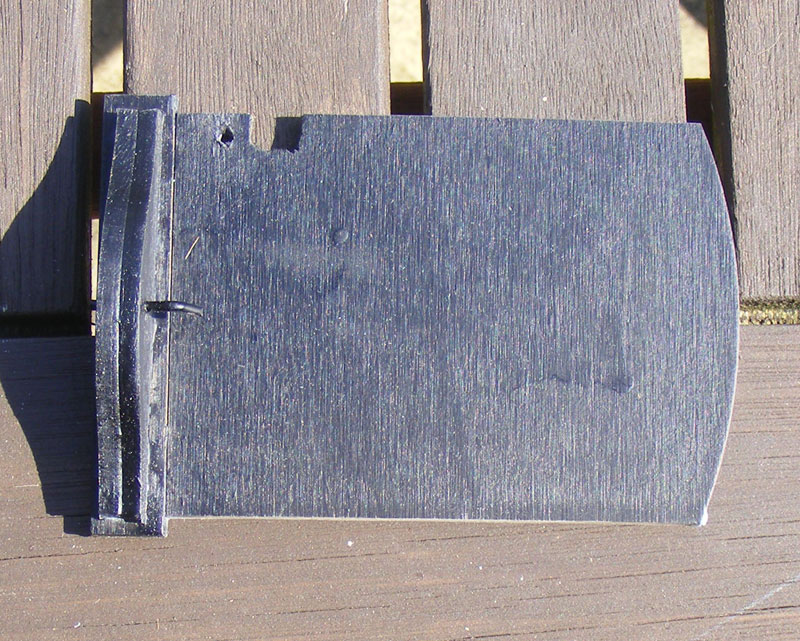
............... and this shows the underside, with hiles to let the noise out and a hole for the switch (which had to be moved to near the edge when I discovered it fouled the wheels - NOT a Good Thing!
The sound unit fits in snugly (though I DID have to cut a slot on the OTHER side of the floor for the on/off switch).
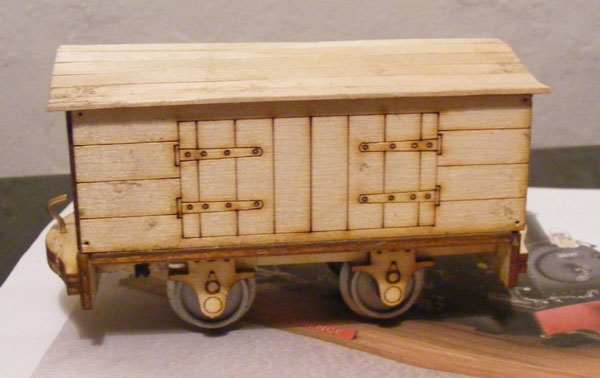
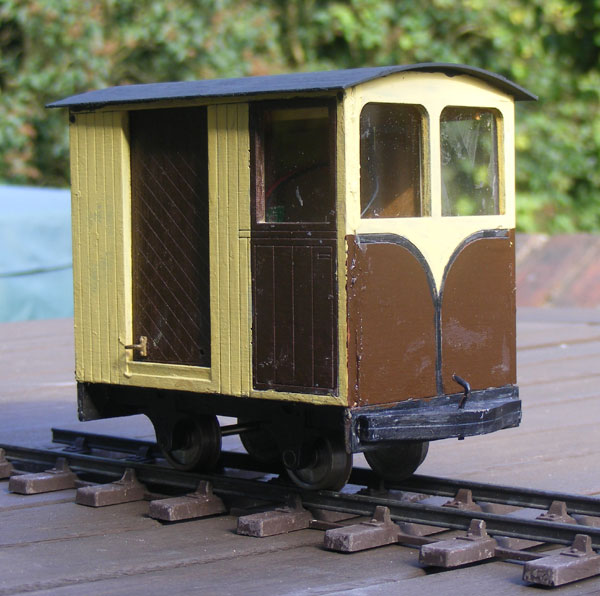
I didn't like the plastic roof that Ian supplies, so made my own out of coffee stirrers. It's only held in place with double-sided tape at the moment - I sense a Hinge Moment coming on! (In fact, I remade the roof out of ply with a pair of hinges at the ridge - it looked MUCH better,) And here's the video................
I'd bought another Budup Unit, which is to be fitted in an IP EZee brake van. As I wanted the doors to slide, but they don't (in fact they are the same size as the door opening) I had to build a rail to retain them, and a piece across the doorway to stop the door falling out. This is the view from the inside, showing a way to ensure the door will be able to slide when it's fitted..............
............ and this is the view from the outside.
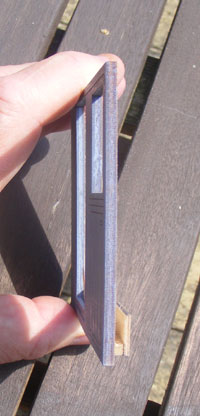
This is the cross section.
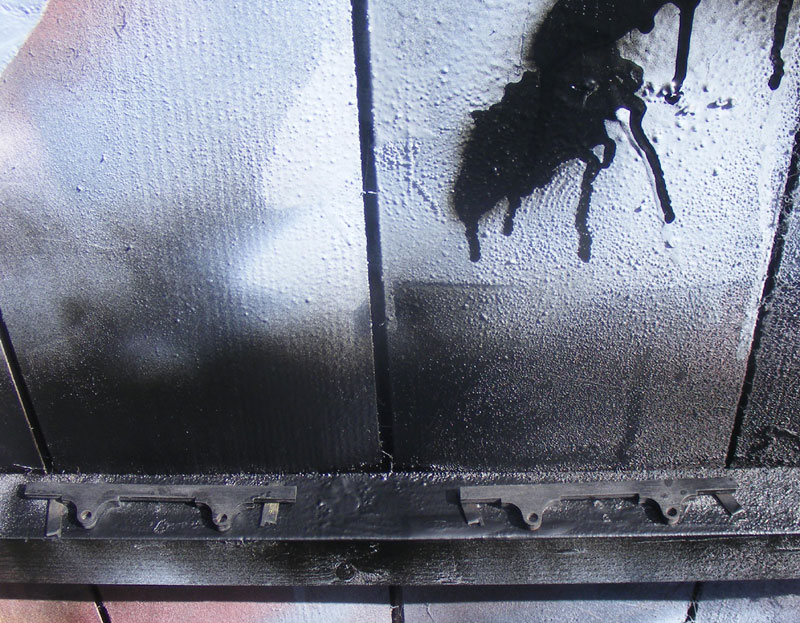
You will note that the pieces you've seen are all in primer. I decided to do Something Different, and paint and/or stain all the major parts before I started assembly. The solebars were sprayed on a convenient horizontal bar on the door (guess where I do my spraying?)..............
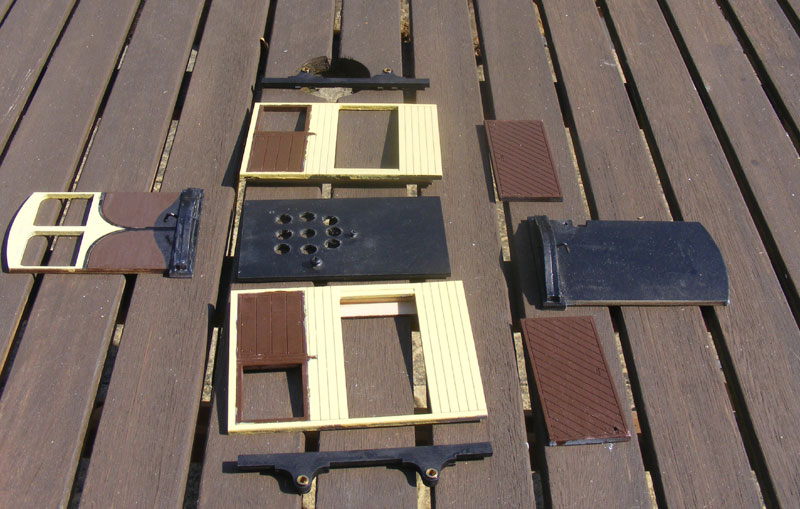
........................ and the rest of the body parts hand painted - the buffers having been built onto the ends............
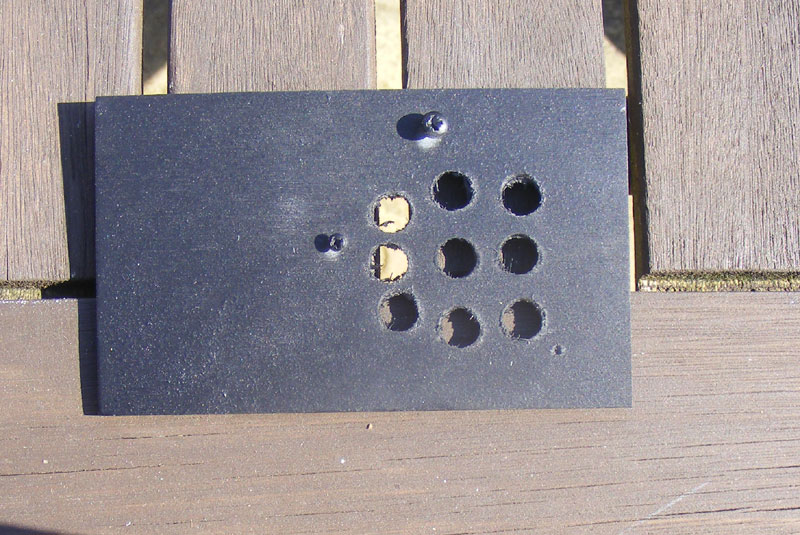
............ apart from the floor (seen here with two of the holes which will hold the speaker down)............
.......... and the non-window end (note the holes for the switch and its securing screw) which were both sprayed matt black.
The next job was to glue the bearings into the axleboxes.
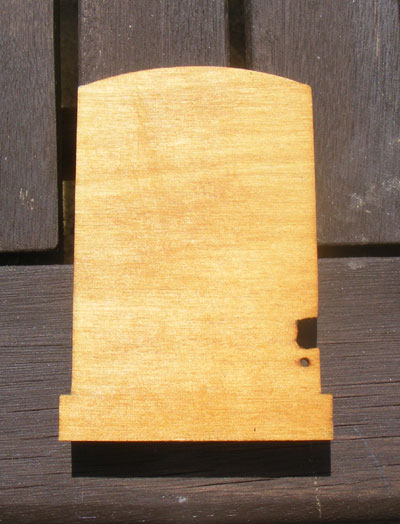
The final job before assembly was to sand the ends of the sides and the inside surfages of the body, to remove any paint that might have accidentally got there, followed by a coat of wood stain on all the inside surfaces - this is Antique Pine. I keep a whole pallette of these in stock, mainly for interiors. This is the non-window end - the notch for the switich and the hole for the switch fixing screw show up better in this shot. Having added glazing (secured with double-sided tape on the inside), assembly followed my usual method, using track pins at the top of the sides to hold sides and ends together at the top, and a rubber band near the bottom. The fact that the channels for the sliding doors were set a floor’s thickness up from the bottom of the sides provided a ledge to locate said floor, now complete with speaker fixed in place and wired up to the circuit board, switch and battery holder. Once the glue had gone off, the switch was fixed in place, a top runner for the sliding doors (the full length of the van just below roof level) was fitted each side inside, just below roof level, followed by the doors themselves. DON’T FIT THE HANDLES UNTIL THE DOORS ARE IN PLACE! or the doors won’t slide into place. I threw Uncle Ivan’s plastic roof away - I much prefer to use very thin ply, which cuts easily with a hobby knife, and secured it to the body with PVA and rubber bands to hold it in place whilst the glue sets. Finally, the solebars and wheels were fitted and the roof painted with two coats of LNER Roof Grey. The final job was to touch in the ends of the sides - the end without windows in black, the window ends in cream and brown.
"You see, I CAN get the battery out of the door............"
As my hand gets less steady, I found that painting before assembly worked for me in this instance, but you do have to be VERY careful not to damage the painted surfaces as construction continues - newly-dried paint is still very soft and can be easily damaged if you’re not very careful.
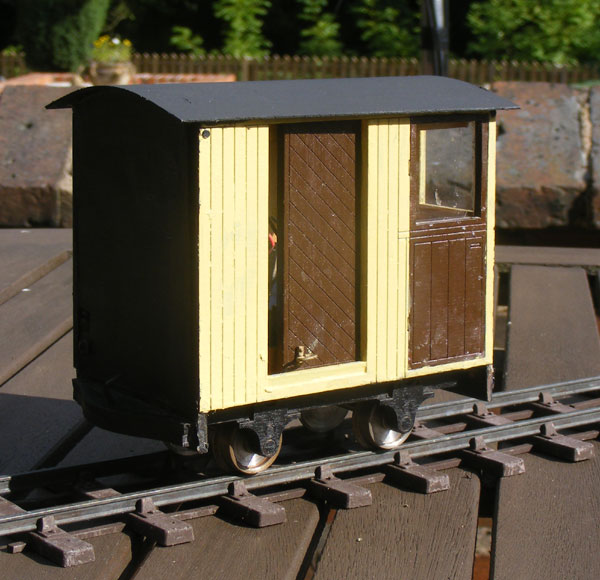
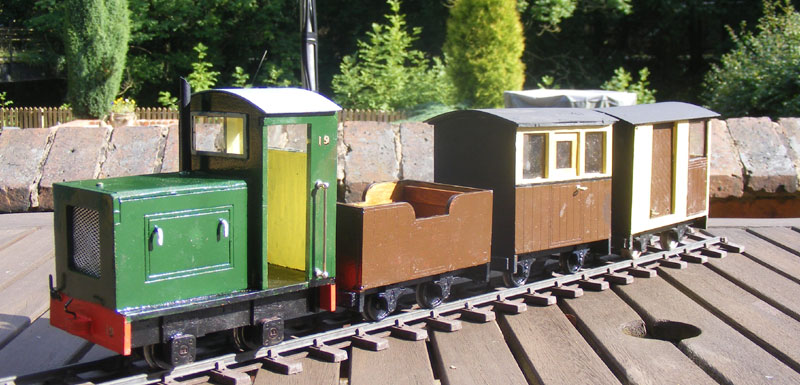
.................. and here's the complete train, hauled by the MDLR's No 19, which is named Paul Hardcastle - Google Paul Hardcastle 19 if you want to know why! |