This page will document the building of the baseboard for the layout, in the form of a blog-which-isn't-actually-a-blog-because-it'-on-my-web-site!
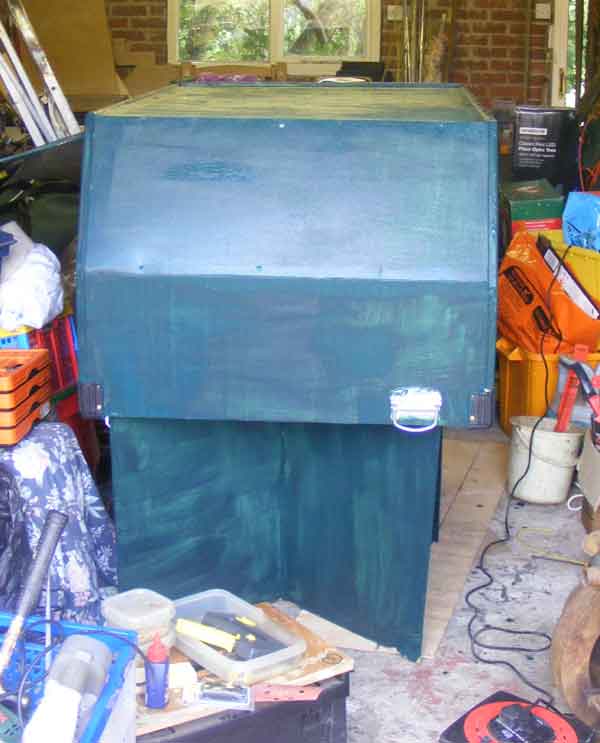
The layout is to be built on 6mm ply and enclosed in a box with EVERYTHING fixed down and lighting permanently installed. The theory is that on arrival at an exhibition the "box" will be stood on one end, the legs attached, the box stood on its legs and 4 flaps opened up to reveal the layout - one side (the back) having a switch panel for lighting and sound effects (said welder).
7th April 2012
Today I actually made some progress: Did another batch of measuring and drew up a cutting list for the 6mm ply I'm going to build it out of. Unfortunately, my favoured supplier who supplies 10' by 5' sheets (ideal in this case) was closed today coz it's Easter! Nevertheless, some progress was made and the ironmongery for the job sourced (apart from bolts and wing nuts - might nip out one lunch for those)
10th April 2012
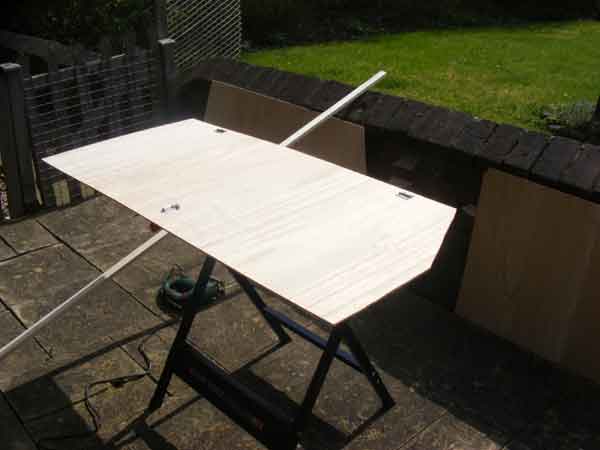
Today I hit problems, but nothing major. Went to the timber suppliers in Derby with the cutting list for the ply. The operative who served me did not inspire confidence: "Is 28" the same as 2' 8"?" Eventually I got what I wanted, but a bit more in the way of narrow strips than I would have liked. Problem Number One came when I loaded up the car: the 4' 6" long pieces only JUST went in the car (in fact, I drove home with the Big Red "YOUR TAILGATE IS OPEN" warning on) but a quick track session revealed that the baseboard would cope with the track layout at 4' 3" long, so that's the final size!
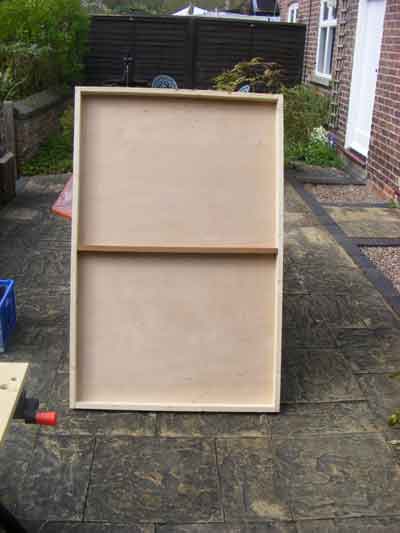
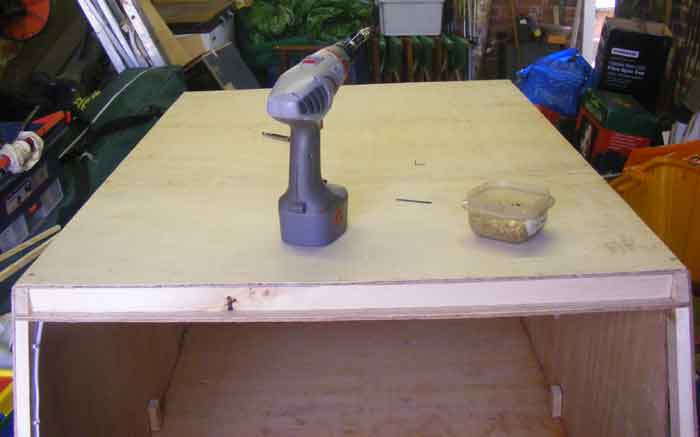
Once I'd been to B&Q for some planed timber, the baseboard was constructed in time honoured fashion with a 2" by 1" frame, with the ply fixed to the top with brads from a staple gun, the whole glued with PVA.
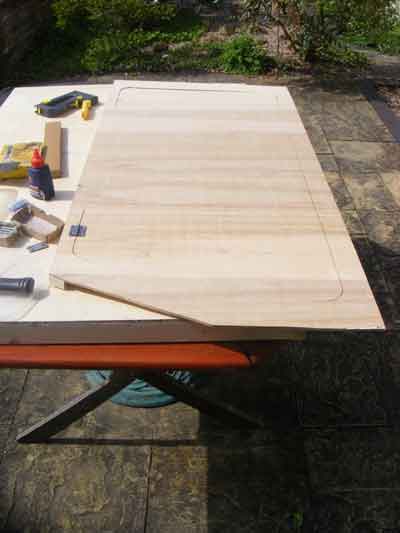
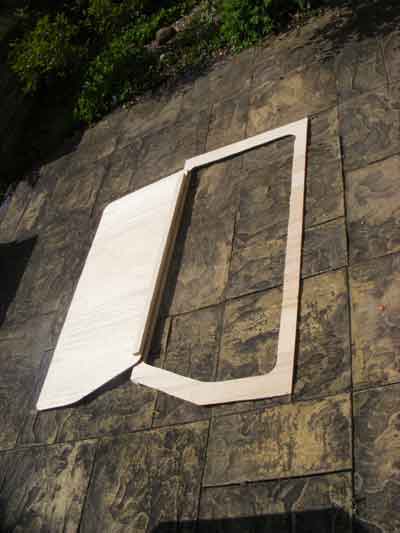
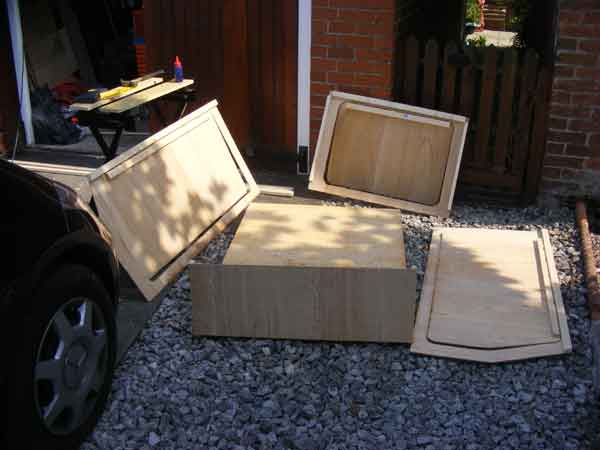
Once the baseboard was proved to fit in the car, a box side was extracted from the pile of ply and cut to length............... which revealed Problem Number Two - the car has a slope at the back which means a square box won't fit. No problem - we'll have a slope on that end of the box with a small opening flap instead of a full-height one.
One side with the corner cut off and ironmongery placed in postion....................
Side viewing flap now (almost) cut out and the first hinge fitted....................
................ and completed and opened! The bolt will be fitted once there's something to screw it to (like the baseboard frame).
Problem Number Three was the patio table - the edge which holds the top in place across one end fell off! Repair tomorrow (well, it was 2045 and I was working by floodlight by the time I'd finished........)
25th July 2012
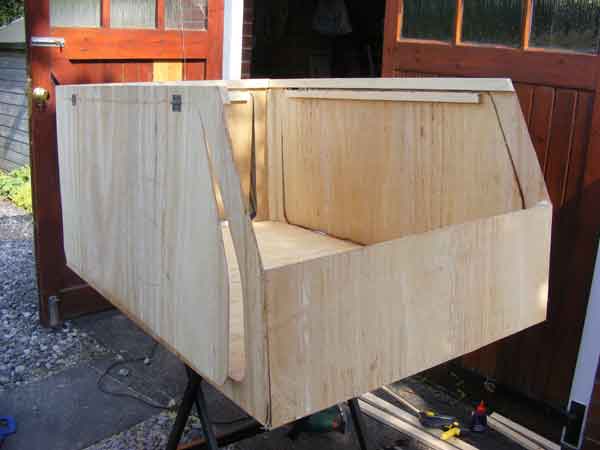
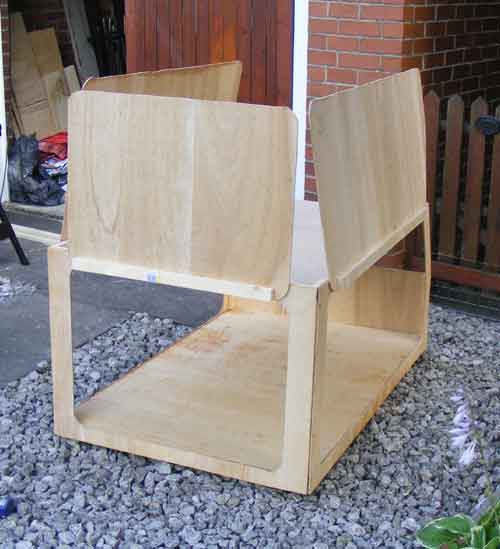
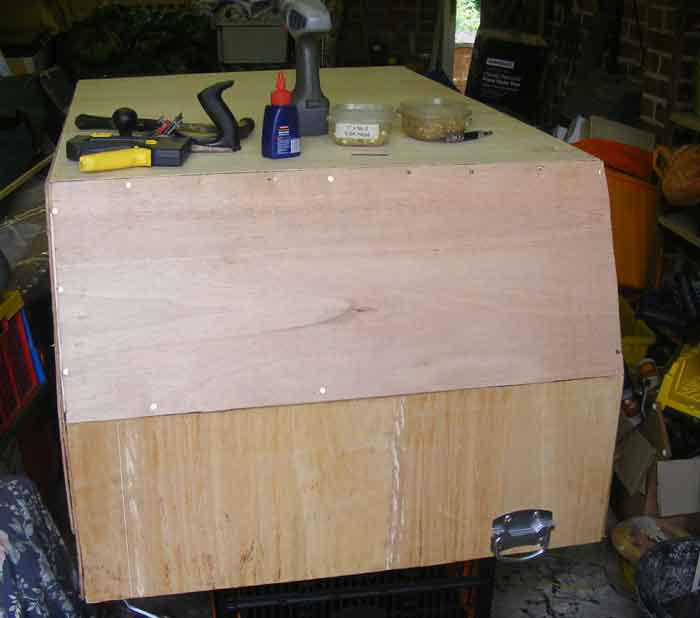
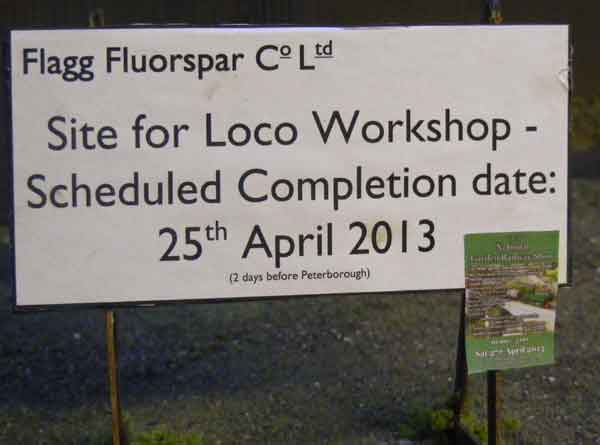
Having entered the layout for the Exeter Garden Railway Show at the end of October, I thought I'd better get on with things, so two good days saw considerable progress made. Here we have the baseboard with all the sides and ends made......................
............... which were then fitted to the baseboard (not without something of a struggle)....................
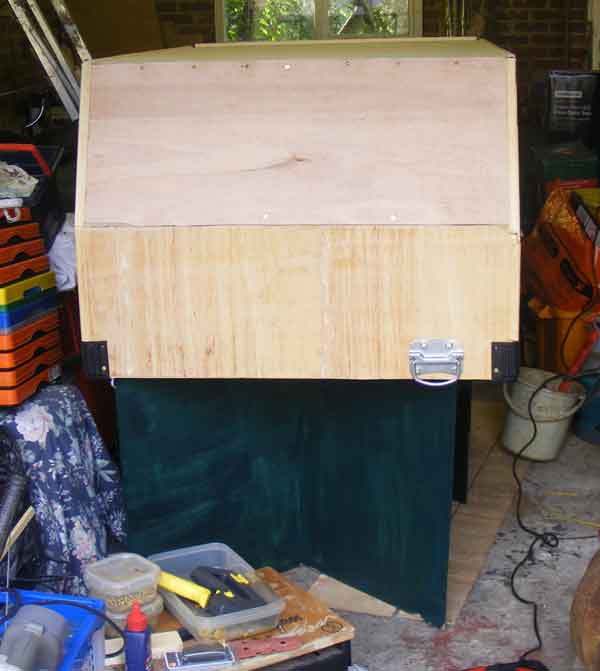
Once I'd worked out that it was easier to fit the inner roof if I turned the whole kit and caboodle upside down, I was able to fix the inner roof (which is where the lights are going to go) in position.................... The final job was to reinforce the brads which more-or-less held the whole thing together with some brass screws, which stopped the whole thing wanting to fall apart. Once the inner roof HAD gone in, things became a whole lot more rigid.
The observant amongst you may have noticed that I'm now working in front of the garage - I realised last week that if I assembled everything on the patio, it wouldn't go out THROUGH the garage, it wouldn't go out down the side of the garage OR through the house, and it couldn't get out around the back of the garage because of low trees, so, I've moved operations!
7th August 2012
Today was mainly spent installing miscellaneous ironmongery - carrying handles and bolts to hold the three opening flaps closed. There was a minor problem with some of the handles - the top screw holes couldn't be used because that would have screwed the handles to an opening flap (not good) and two flaps therefore had to have cutouts added to allow the flaps to open.
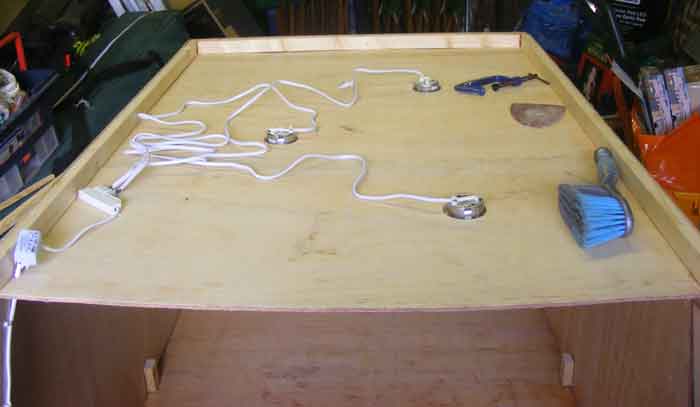
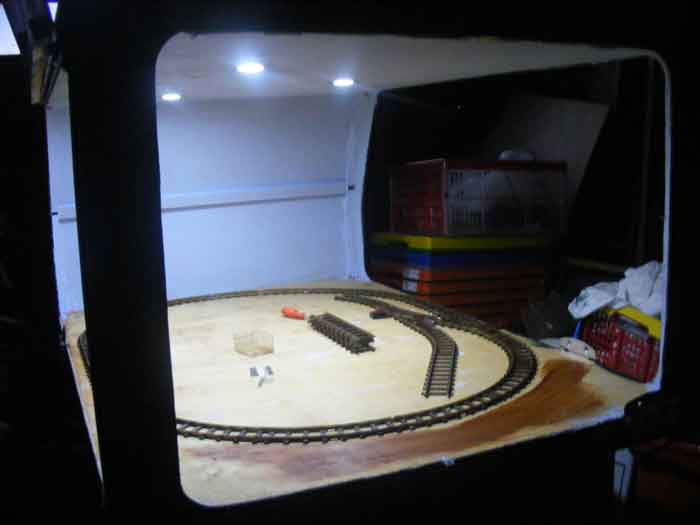
The final job was to cut three circular holes in the inner roof and instal the LED lighting. Total load - a WHOPPING THREE WATTS! I've decided not to fit legs - carrying them would be very difficult so I'm now working on a solution which will raise the layout off a table and be easy to carry.
11th August 2012
I made a determined effort to get the joinery done today - did it, too!
The first job was to add the outer roof...................
....................... then fit the final end panel ...................
................................ and finally fit the corner covers (normally used on PA speakers) and what I term "the Bodge Strips". This phrase came into being when I was fitting out a narrow boat, where it is quite normal to use a piece of quadrant in a corner, to conceal the fact that you didn't cut the two pieces of wood exactly to size. In this case, they are actually "Bodge Angles" as they cover up all the visible joints.
A closeup of a corner.As you can see, the whole thing now looks very neat and presentable.
August 22nd 2012.
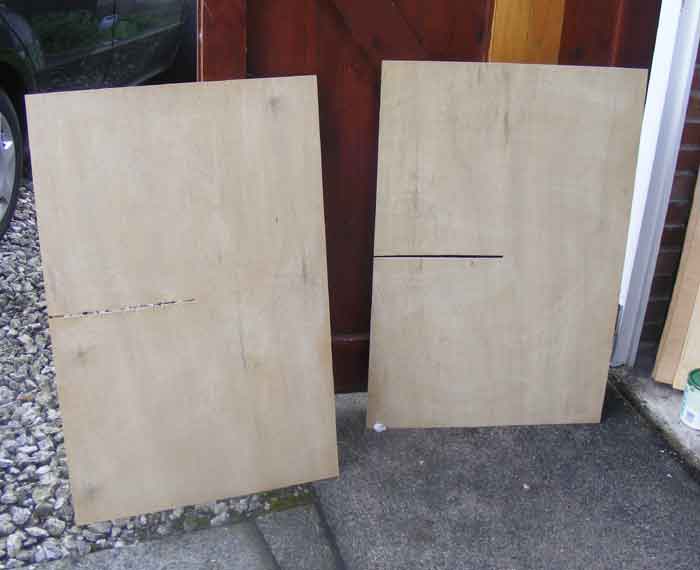
I had something of a problem with "legs" for the layout. I wanted to lift it above table top height, but I was short on space in the car. Eventually, looking at the packing for boxes of bottles gave me an idea..............
.............. so two 6' by 2' sheets of ply were cut and slotted...................
........ to make two stable supports for the box.
Once this was done, the whole was given a coat of Holly garden furniture stain.
5th Sepember 2012
Much of today was spent in "interesting" positions as I painted the inside of the box (except the floor) with some sky blue emulsion.
Under the 3 watts-worth of lighting it looked quite impressive, partcularly when I laid out the track (just so I could check it fitted) before lifting it to stain the floor with a dark wood stain.
6th Sepember 2012
The track was laid and pinned down today - the first time EVER I've used Peco track pins for their intended purpose! Of course, I just HAD to run a train! Just for the hell of it, I used MDLR No 8 GYTHA and "standard" stock, rather than the smaller stuff which will be the norm.
There was only one slight problem - one of the lifting handles fouled the loco's buffer beams and derailed it - soon cured with the jig saw!
October 3rd 2012.
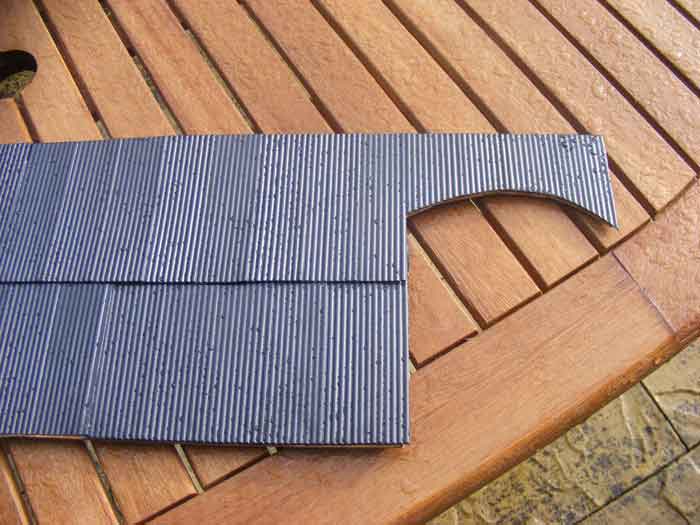
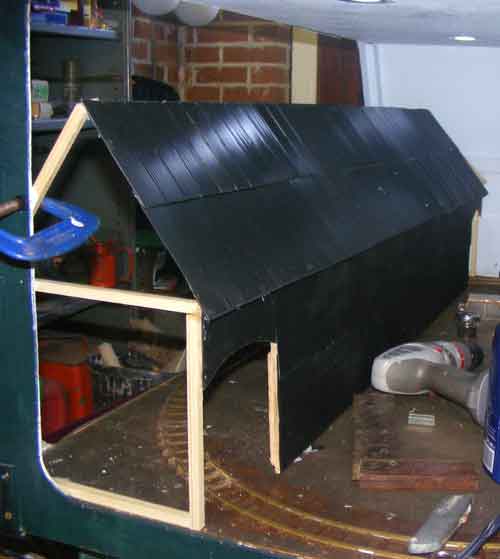
I thought I'd better get a move on, seeing as how Exeter's only 17 days away, so got a crack on with the "Big Building" which the line is going to run through.
I bought loads of plastic corrugated iron from Brandbright, and made up the wall from ply, covered with the corrugated iron, which was fixed with Evostik.......Oh, the fumes! On reflection, I would have been better using the method I adopted for the roof...............
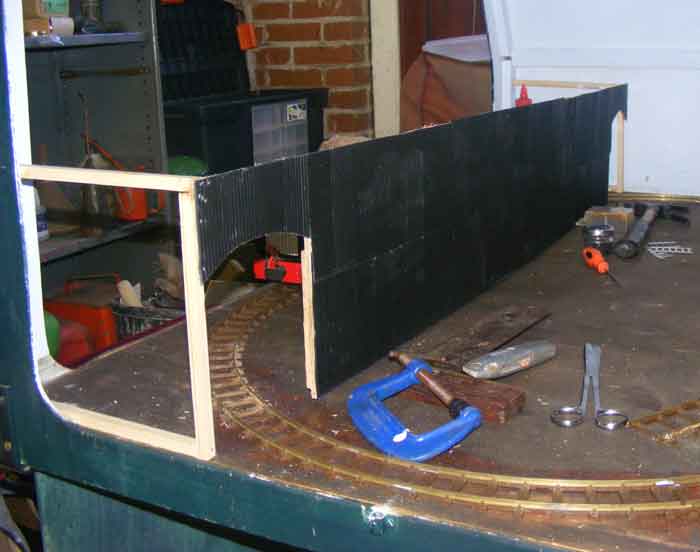
........ but I'd got this far, so the wall was built in, not without a little difficulty.
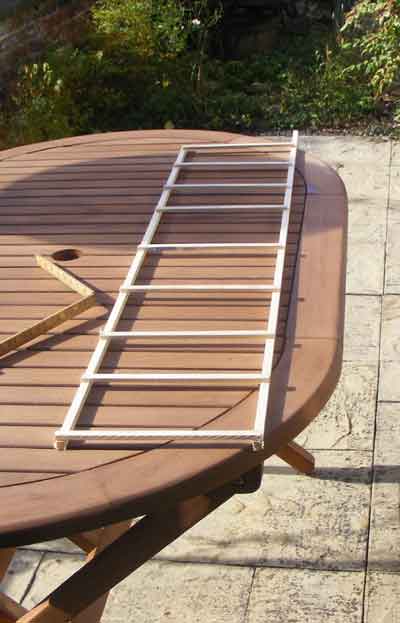
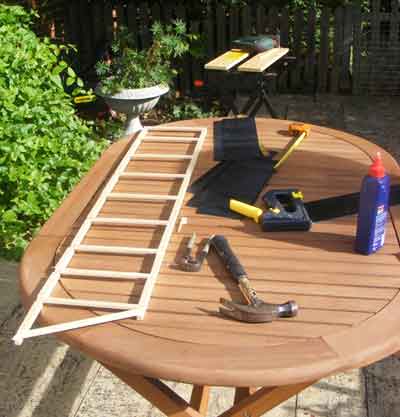
The roof was a totally different ball game. Once I'd decided on the size, a frame was made up with stripwood.............
.............. which in due course got corrugated iron glued to it (outside, this time.........)
........ and fixed to the top of the wall and the interior of the "box". I'm just waiting on another sheet of corrugated to clad the visible end, I've got to finish the pointy end (where the box slopes down) and add the ridge, then a coat of black paint on the visible wood foloowed by a little light weathering will see the job done!
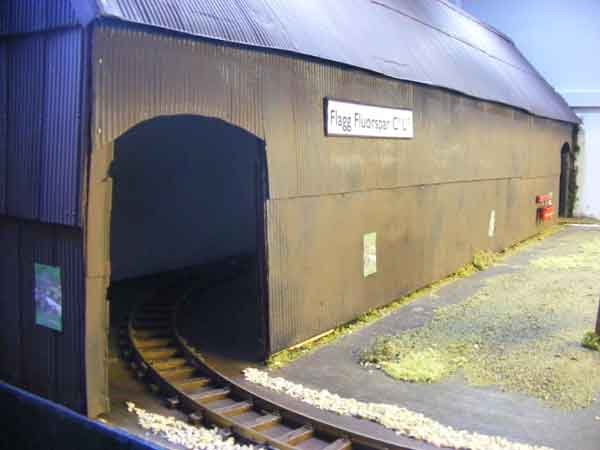
With the gable end clad, a VERY dilute wash of "Track Colour" paint to take the newness off and make it look a tad rusty, plus some Woodland Scenics for weeds and scrub (plus genuine fluorspar either side of the running line - I KEEP telling them not to over-fill the skips) we're about there!