(and if you REALLY don't know why, CLICK HERE)
|
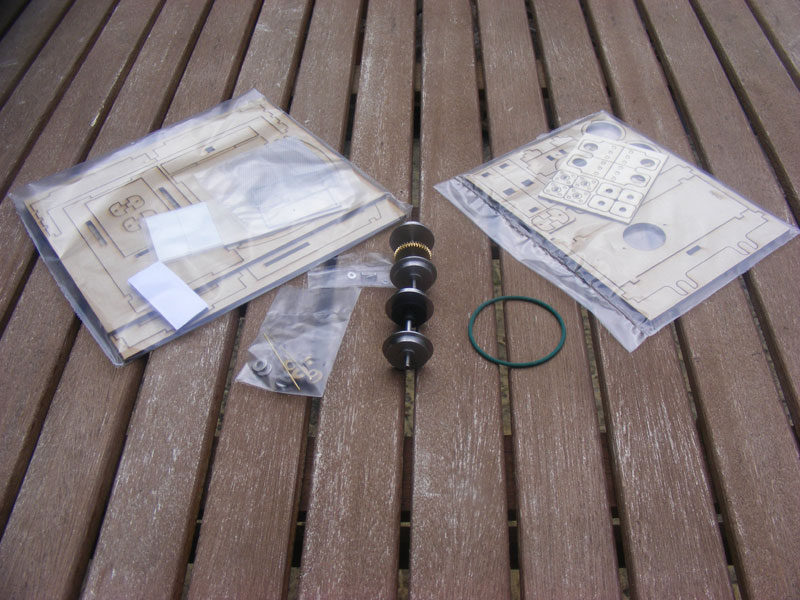
No 19 is a Busted Bricks 4WD chassis with the body kit on (Now produced by the Houston Gate Locomotive Works) This is what comes in the box: the body kit on the left, and the chassis kit on the right, with the already assembled axles and wheels, the drive band, and all the other miscellaneous gubbins in the middle.)
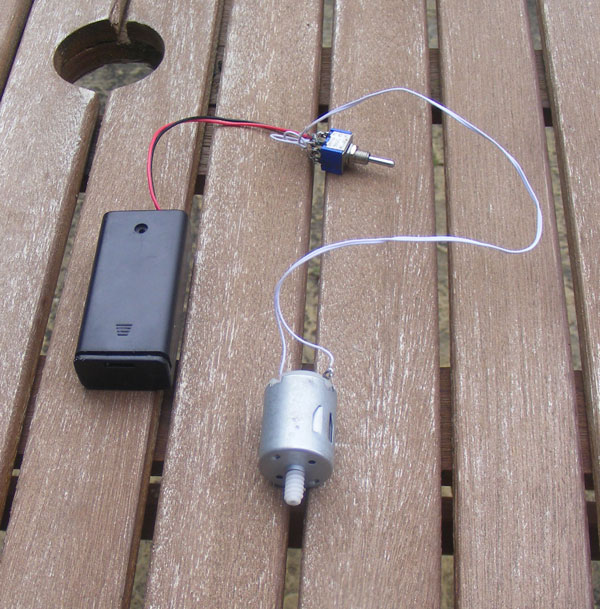
One thing that wasn't in the picture was the motor and worm wheel: I opted to supply my own reversing switch and battery box, and had wired the whole lot up before starting the loco construction proper.
Assembling the underframe took less time than it did to photograph and write about it - because of all the slots and tabs there is really very little to go wrong (except that the design of the motor retainer has changed, but the instructions hadn't, but it wasn't hard to work it out). Here you see the underframe upside down............
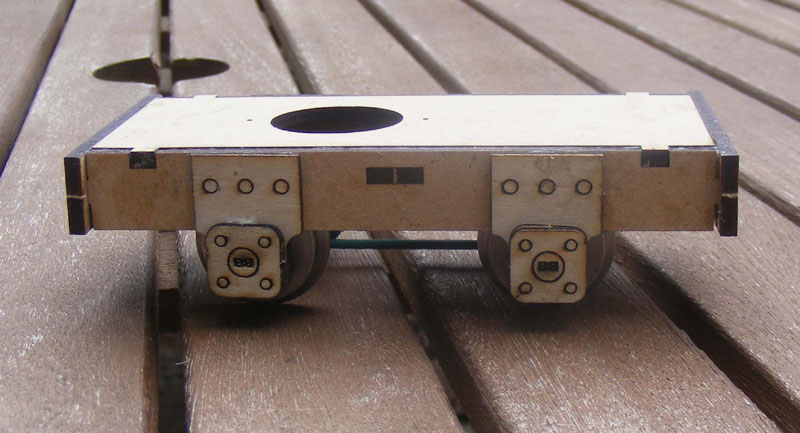
............ and the right way up.The square holes are for the (supplied) buffer / coupling - not fitted here because they go on the body kit.
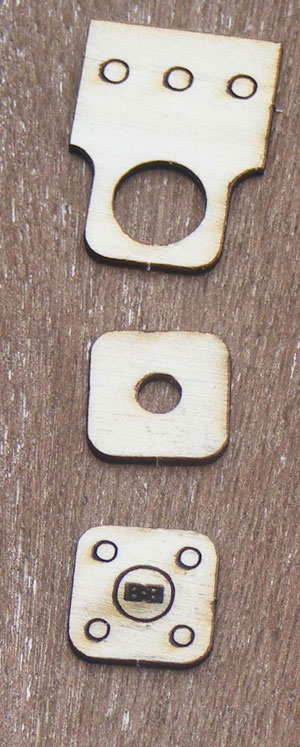
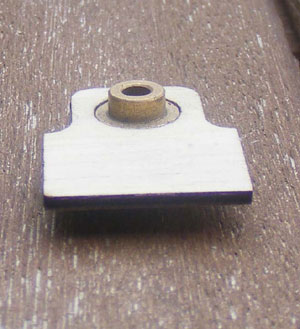
The axle boxes are a novel design, with three laminations.....................
...... glued together............
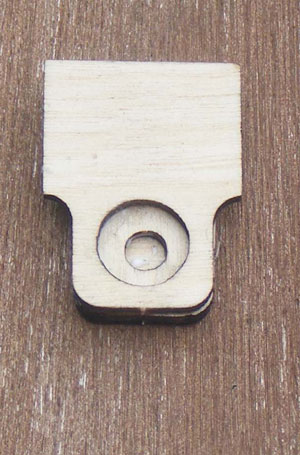
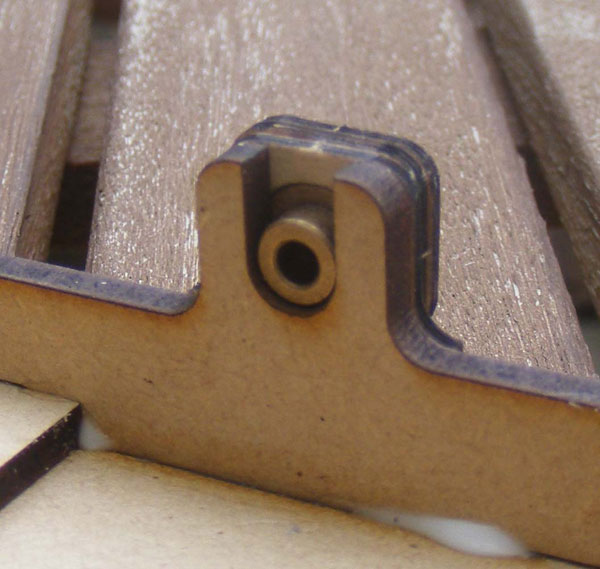
............. to make a "cradle" for the actual bearing............
the whole being accurately located by the "ears" on the underframe, into which the bearing slides. There is absoletely NO glue near the bearing or axle end.
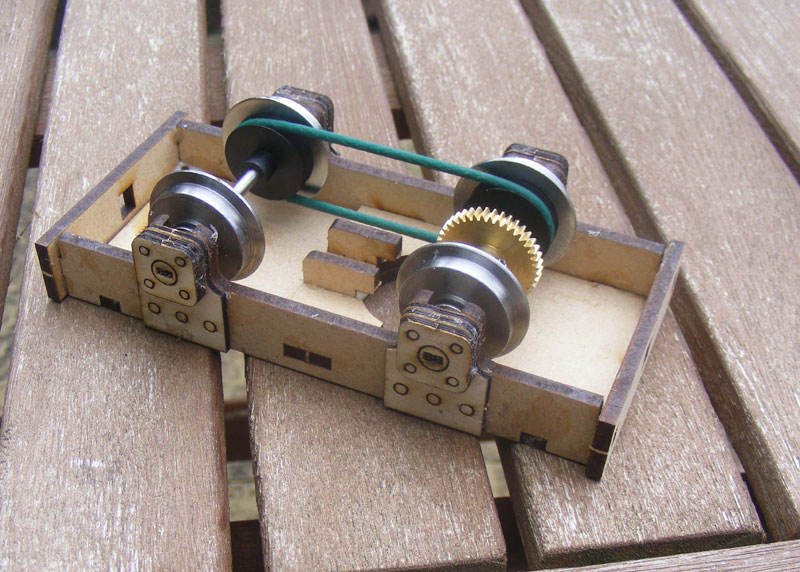
The wheels, axles and drive band installed................
............ and on its wheels. BEWARE! do NOT push the worm fully onto the motor shaft - it won't reach the gear if you do! (Please don't ask me how I know this!)
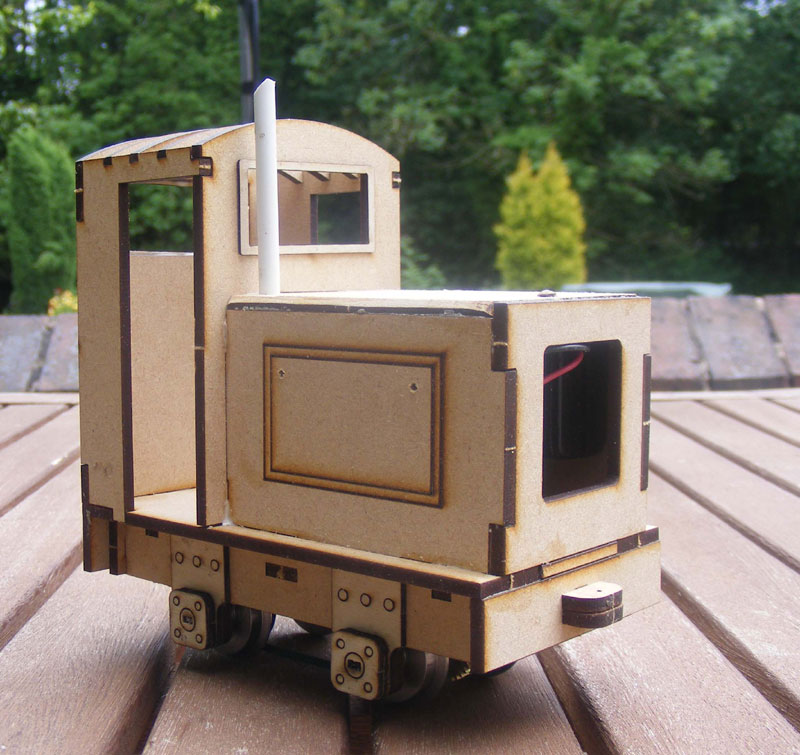
Building the body was also a piece of cake, but here I've started to add some detail - the edges of the top of the engine compartment have been bevelled, the holes in the engine side panel are for handles, and a radiator cap (from a suitably-sized pin in the Stores) and exhaust pipe have also been fitted. The electrics are currently all stuffed under the bonnet (and remained that way when I came to do the final assembly - there is not a millemetre to spare in there!).
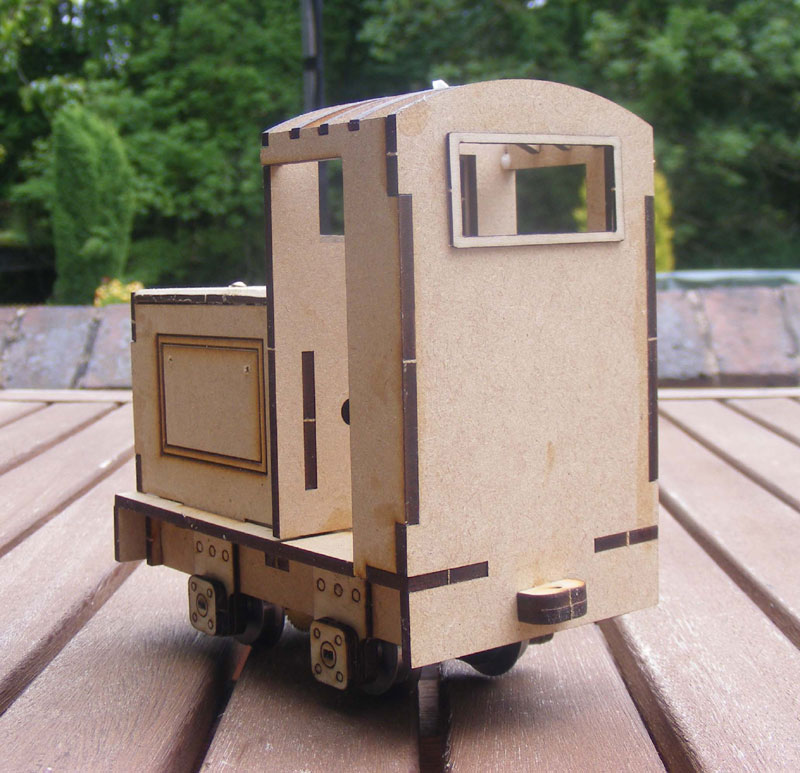
The cab roof and glazing also waited until nearly all the painting was virtually complete. I did have to open the square holes in the buffer beams for the couplings with a small file.............. The whole took considerably less than a day.
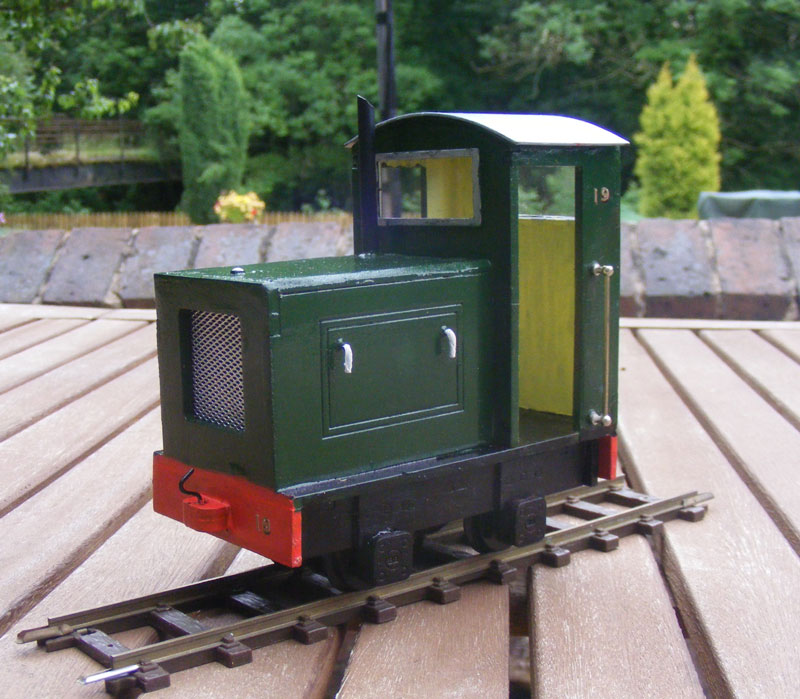
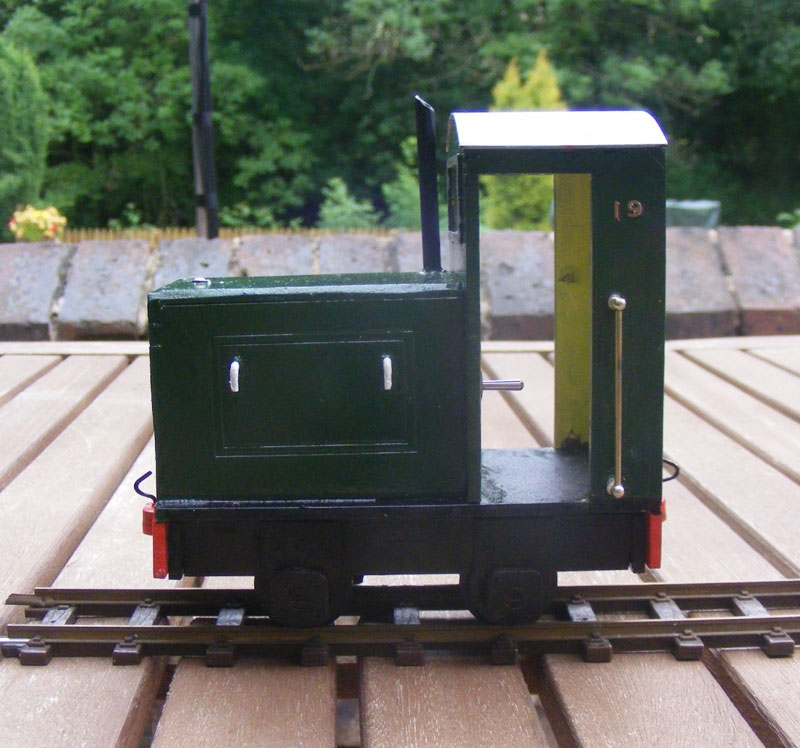
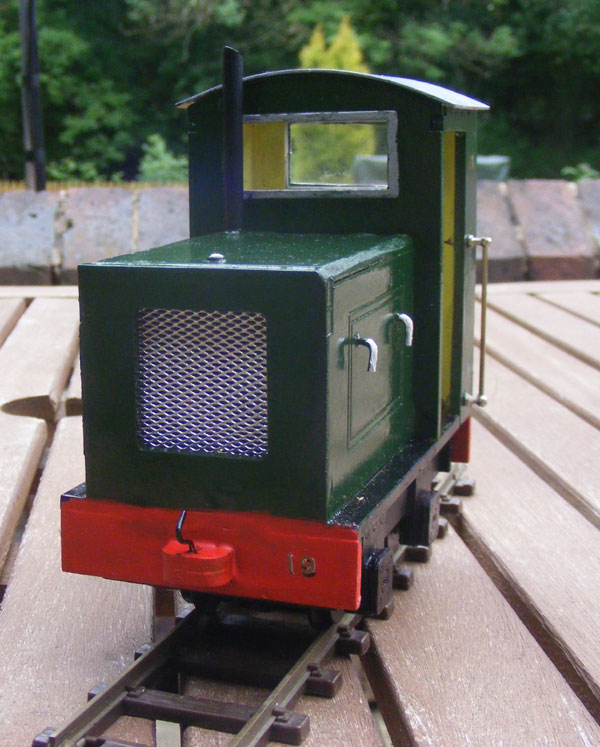
After pointing the loco at various rattle cans (and with a fair amount of brush painting, too) this was the final result.
The number numerals are 4mm LNER ones, which show up better on the green than they do on the buffer beams.The handrails are the standard "knob and wire" type.
|