|
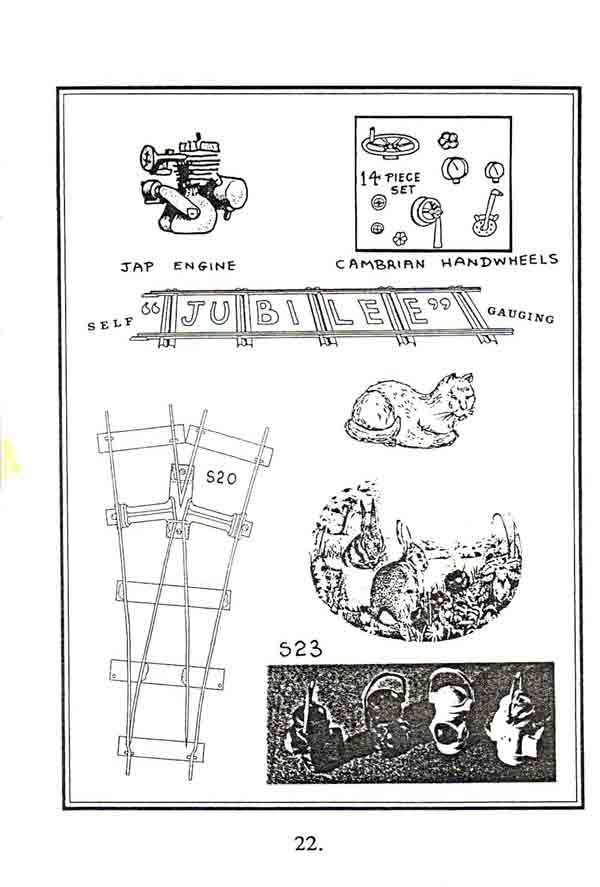
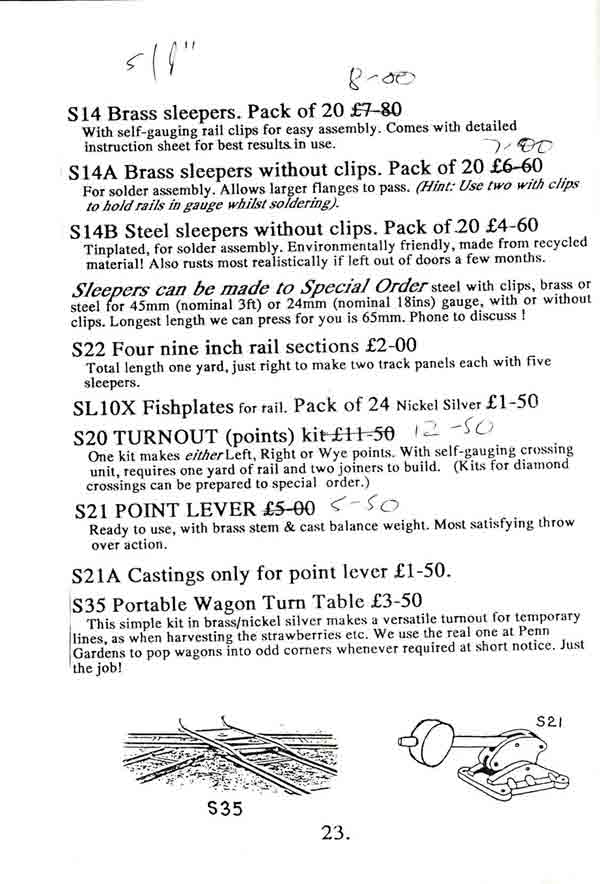
Following the success of Flagg Fluorspar I wondered whether it might be possible to build an even smaller layout. In 2016, the opportunity arose to acquire a box full of (very) second hand Brian Clarke Jubilee track. The following three images are taken from his catalogue of the time.
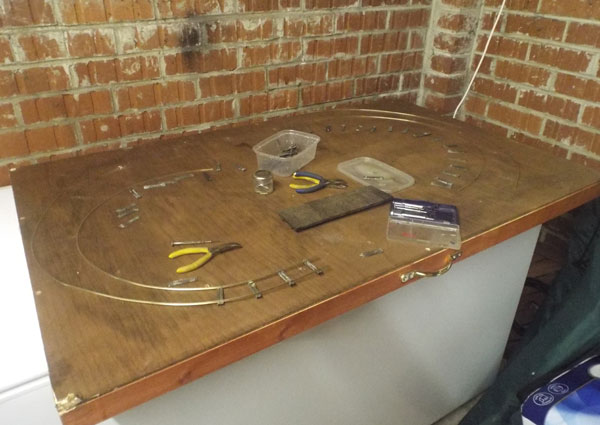
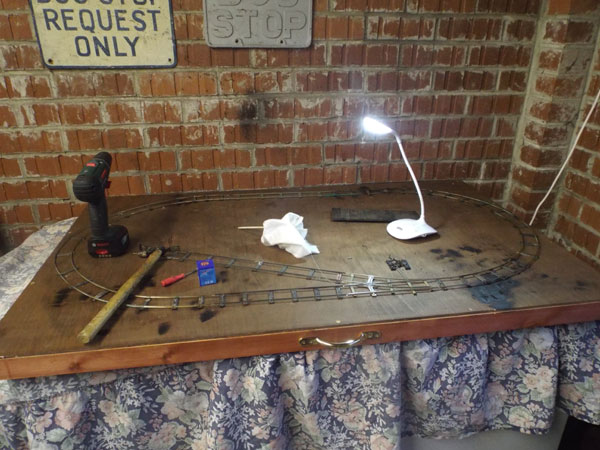
The baseboard was built in October 2017, as a basis for the IP Engineering Train Set track, as I found it was too lightly built to be just laid out on the floor or a table.
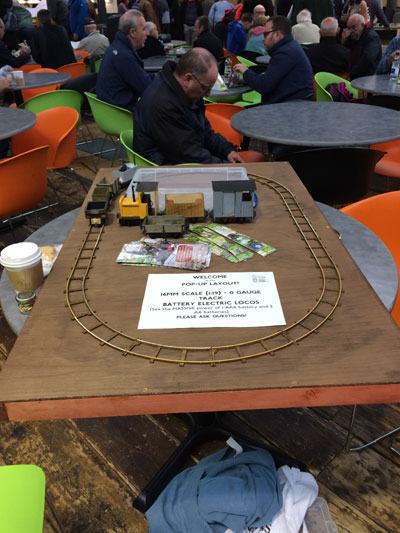
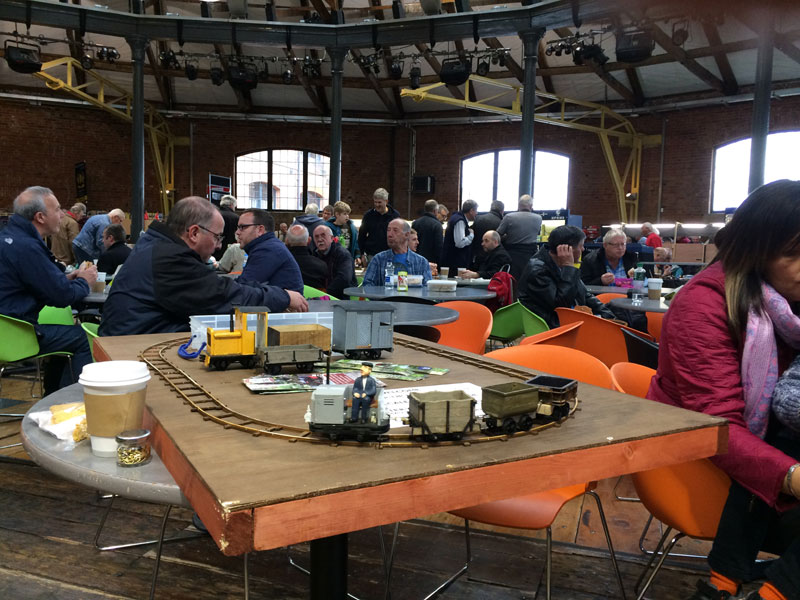
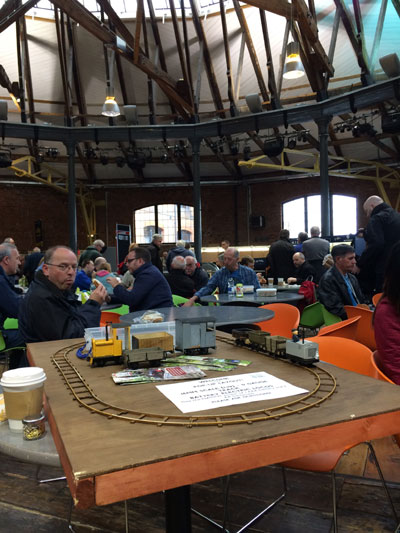
In this form, it went to the Derby Model Railway Show (by train - it fitted nicely in the cycle rack on the train).................
.......... where it operated as a "pop-up railway" in the refreshment area. Surprisingly enough, nobody from the exhibition came along to ask what I was doing there!
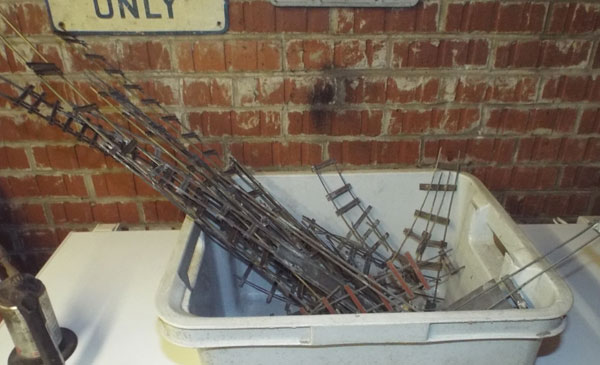
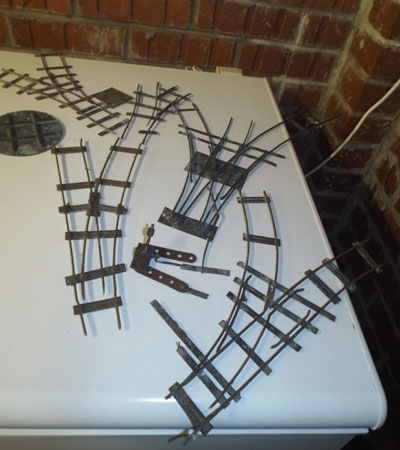
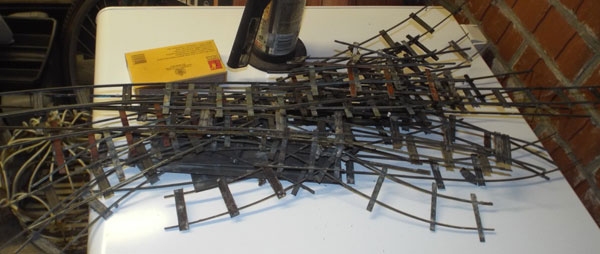
The Jubilee track came like this....................
There are a number of turnouts...............
.......and a fair amount of salveable sleepers..................
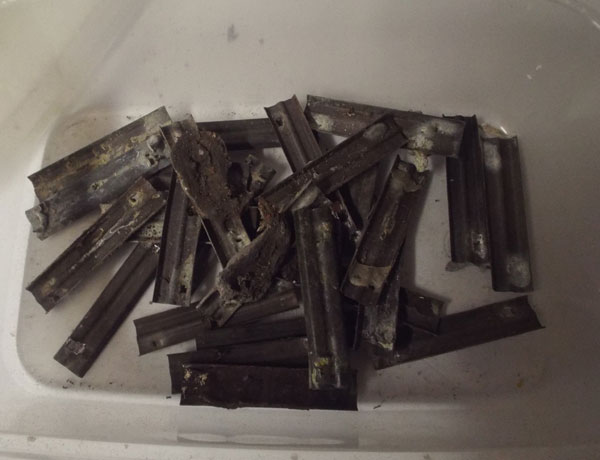
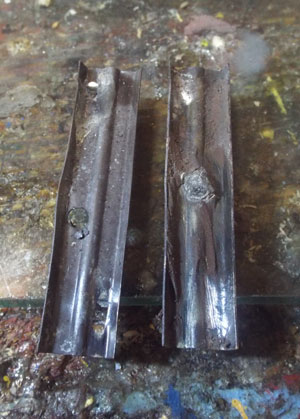
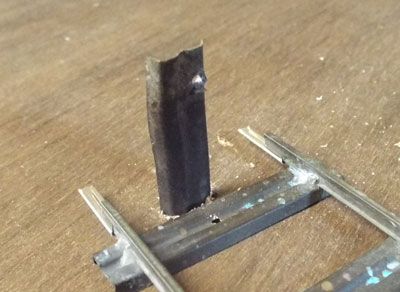
....... which, once I'd dismantled the track with a blowtorch came out like this!
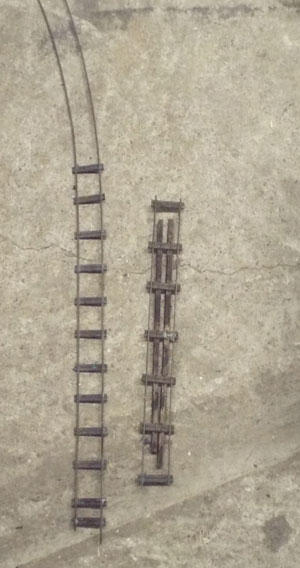
....... but at least there are two straight lengths which will "go again". Another session the next day revealed that the blowtorch worked MUCH better when it had a full gas canister attached (as distinct from the 3/4 of bu$$er all that was in the old canister the day before). I ended up with twice as many sleepers and another salvaged straight length: this appeared to be unused, as the brass was still clean, bright and shiny.
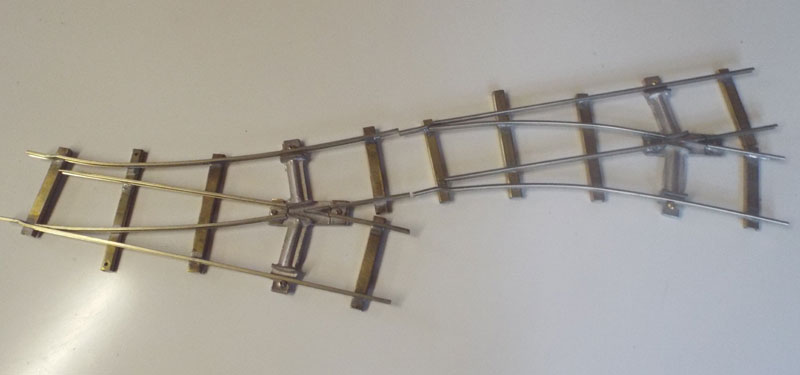
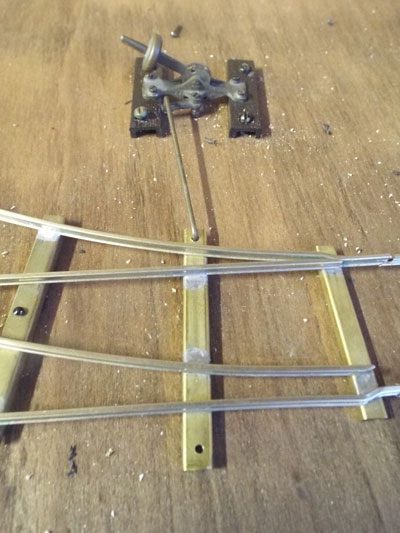
The Internet can be a wonderful thing - a friend of mine in Scotland, Bob Young, offered me a pair of brand new, unused, straight-off-the-bench Brian Clarke Jubilee points at a price I just couldn't refuse....... and here they are! I'll have to order a pair of point levers.......
I've also made a start on cleaning up the underside of the sleepers so the rail will solder to them. Unfortunately, my Dremel decided it didn't like to be used continuously, which is why I'm typing this instead of getting on with the job!
The start of re-using the sleepers, using brand new Peco Code 100 rails. There are issues with the sleepers: the earlier rail was rather smaller, so the tabs needed bending back so the rail could be slotted in, followed by bending the tabs back down with the pliers in the picture. I'd show you the process, but I haven't got 3 hands to hold everything at the same time! There are some sleepers where the little tabs have snapped off - they'll get use as intermediates between sleepers with all their tags intact.
The freezer makes a handy work bench, but with the weather as it is, I'm not good for more than an hour or so. The Peco point levers that Mr Trackshack supplied are absolutely HUGE- anybody know where I can get smaller ones?
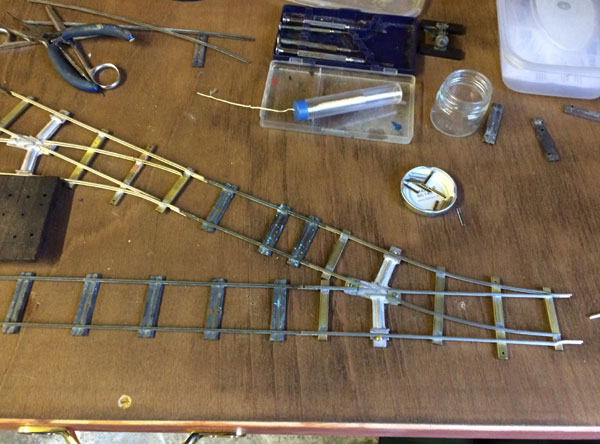
The next stage was to start and lay out the track. I also carried out a delicate repair on one of the points (switch rail not soldered to the tie bar) and assembled the pointwork. The back straight came with a lot of rail on the end, so that's going to get curved to finish off the first curve, which needs about 7" adding to it.
Once I'd remembered how to sort the used sleepers out (open the little tabs with a small screwdriver, put the rail in before clinching the tabs up with the pliers) I was able to complete one end's curve. I have also managed to source a pair of rather more delicate point levers, which I'll instal once the track is pinned down.
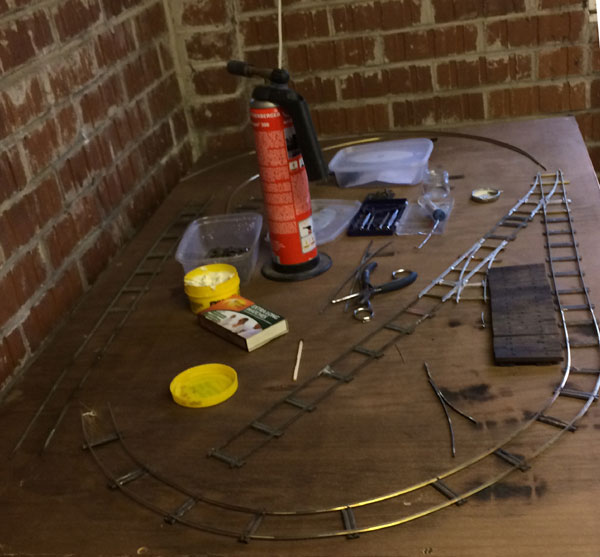
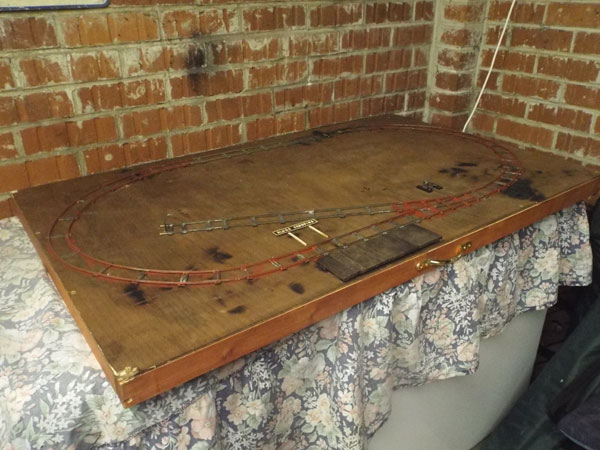
With a lot less than a week to go before the Show, I decided I'd better crack on a bit! I finished making the track and testing it - because I've used old lengths with an unknown rail profile, there will be prototypical lurch (well, that's MY excuse!)
The buffer stop at the end of the (single) siding is, of course, an old sleeper! It may get a splash of white paint at the top of it, so the Driver can see where it is.............
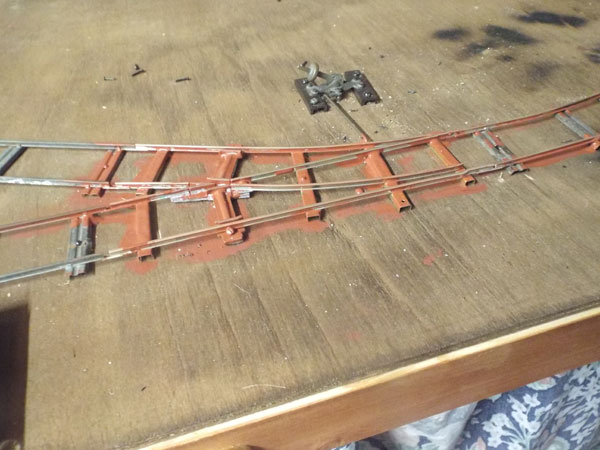
The point lever was fixed down and rodded up..................
.................. following which, the new rail was given a coat of something approaching Rusty Rail paint. I's actually quite dark...........
......... but doesn't look like it on the turnout.
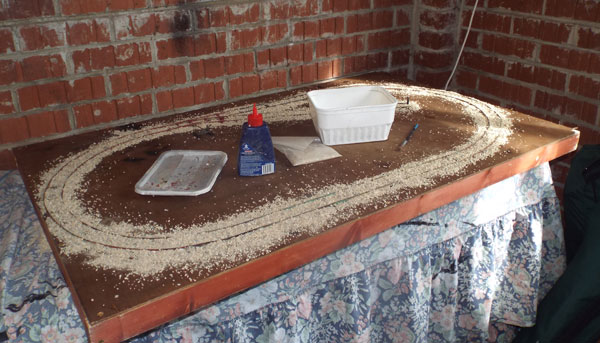
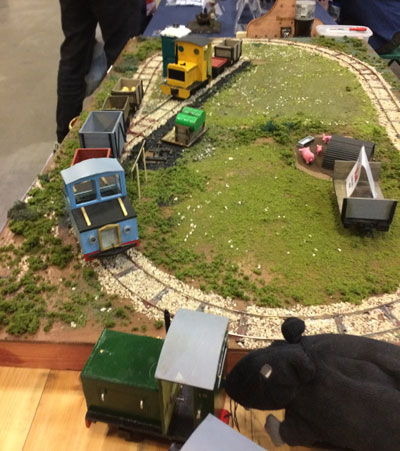
There's a railway somewhere under that lot - promise!
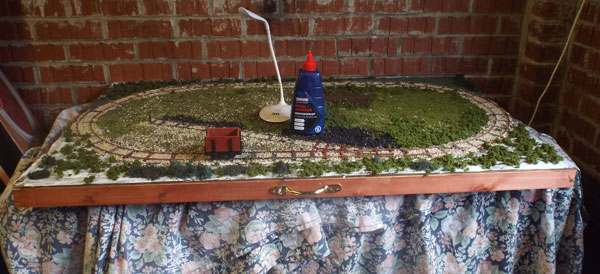
Now there's SOME greenery on it.........
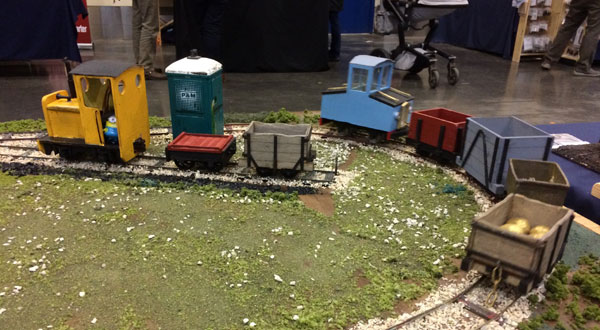
Well, we got to the Show (a much simpler unload and load than with Flagg Fluorspar - I could've been off by 1710)
........... and trains were persuaded to run, but there was a LOT of ballast "in the way" and there was a LOT of chipping away with a screwdriver before a train was able to complete a circuit.
However, by the end of the afternoon we were REALLY lashing out with a 4-wagon train (just because we could).........
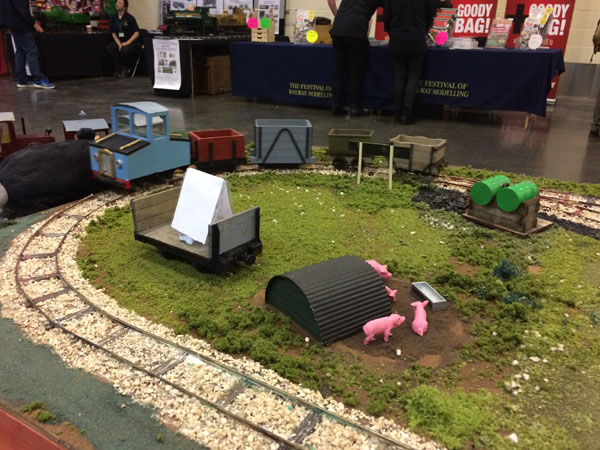
........ and this is the view from the "Public" side! Incidentally, the oil drums were painted on Friday afternoon, at the Show..........
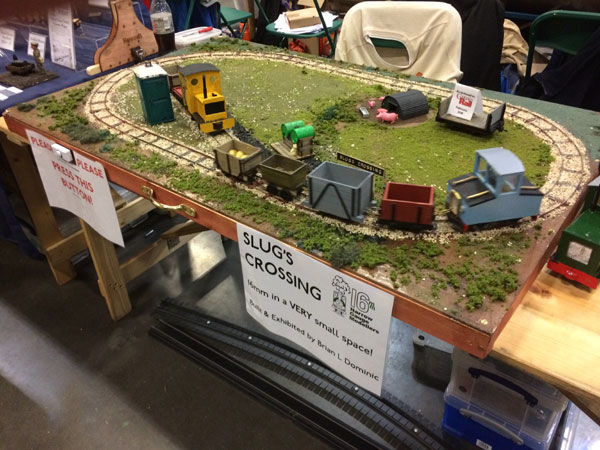
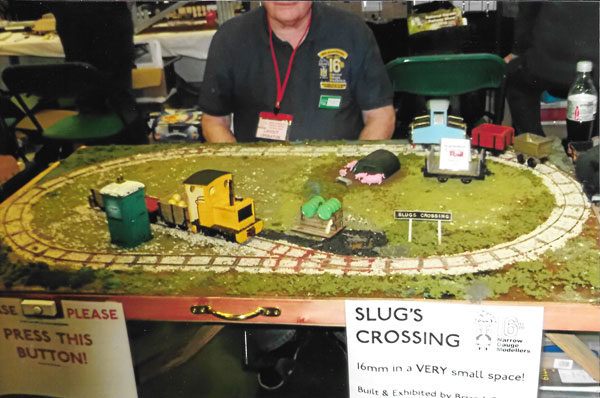
The layout made its debut at the 2018 Peterborough Show. One member who liked it was Clem from Aldershot, who kindly sent me this photo in the post. He said he was sorry for chopping my head off, but I'm rather grateful! |

Updated on 19th April, 2018